Creating Your First Timer
Let's create a simple one-time countdown timer for your homepage.
- Navigate to Timers: From the app dashboard, click on the "Timers" link in the main navigation menu. During your first visit, you'll need to confirm your subscription to use the app. You can use the app for free for 14 days.
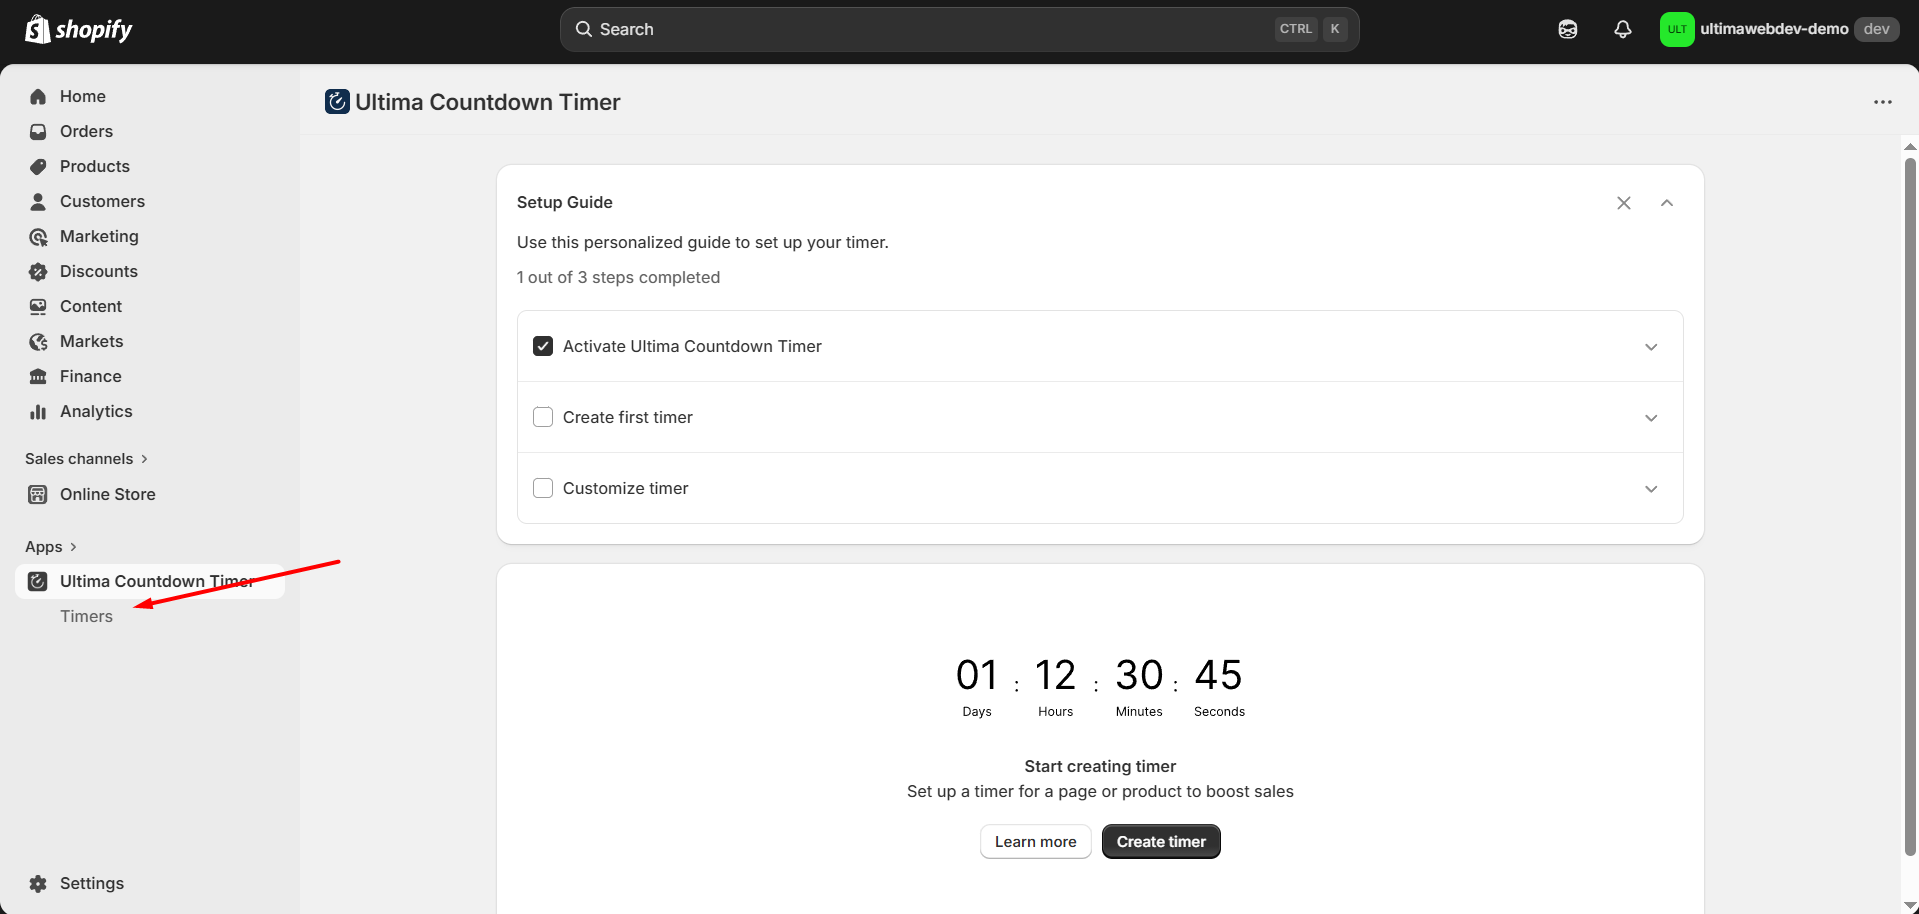
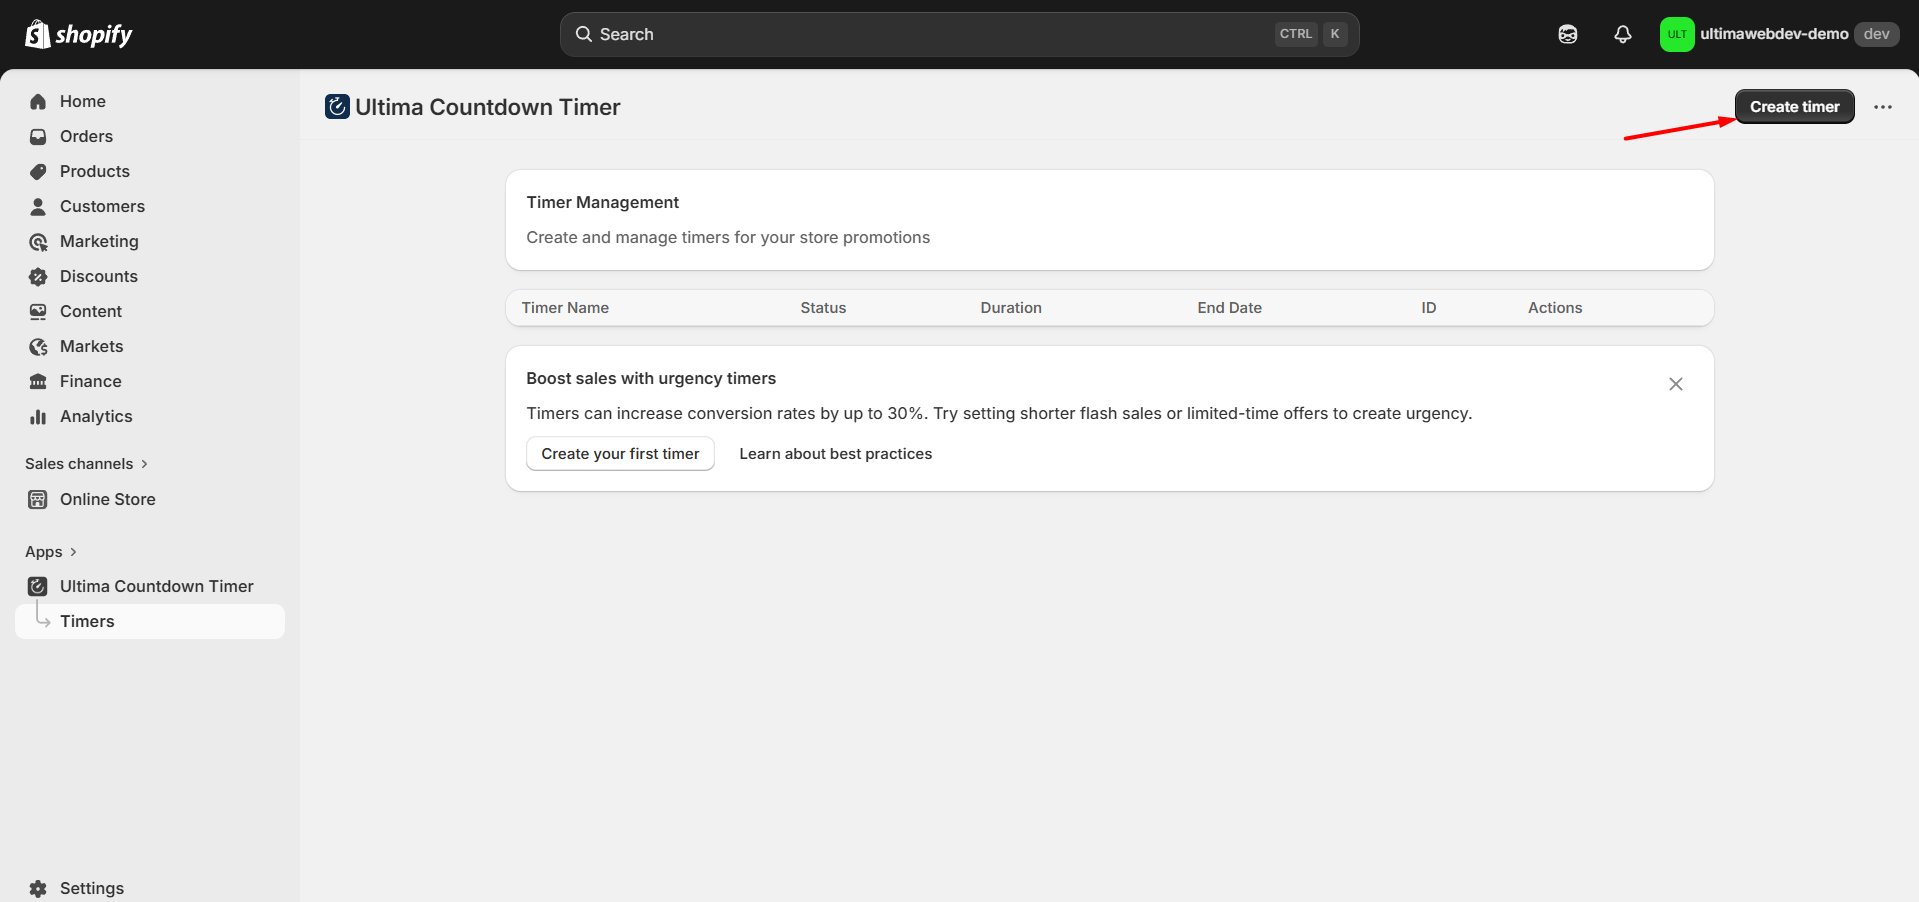
- Add a new timer: Click the "Create timer" button.
- Choose a template: You will see several template options (Top, Bottom, etc.). For this example, click the "Choose" button on the "Top" template. This will pre-fill many settings for you.
Note: If you are editing an existing timer, the template selection screen is skipped.

- Basic Settings:
- Timer name: Enter "Homepage Launch Sale". This is for your reference only.
- Timer type: Ensure "One-time (fixed end date)" is selected.
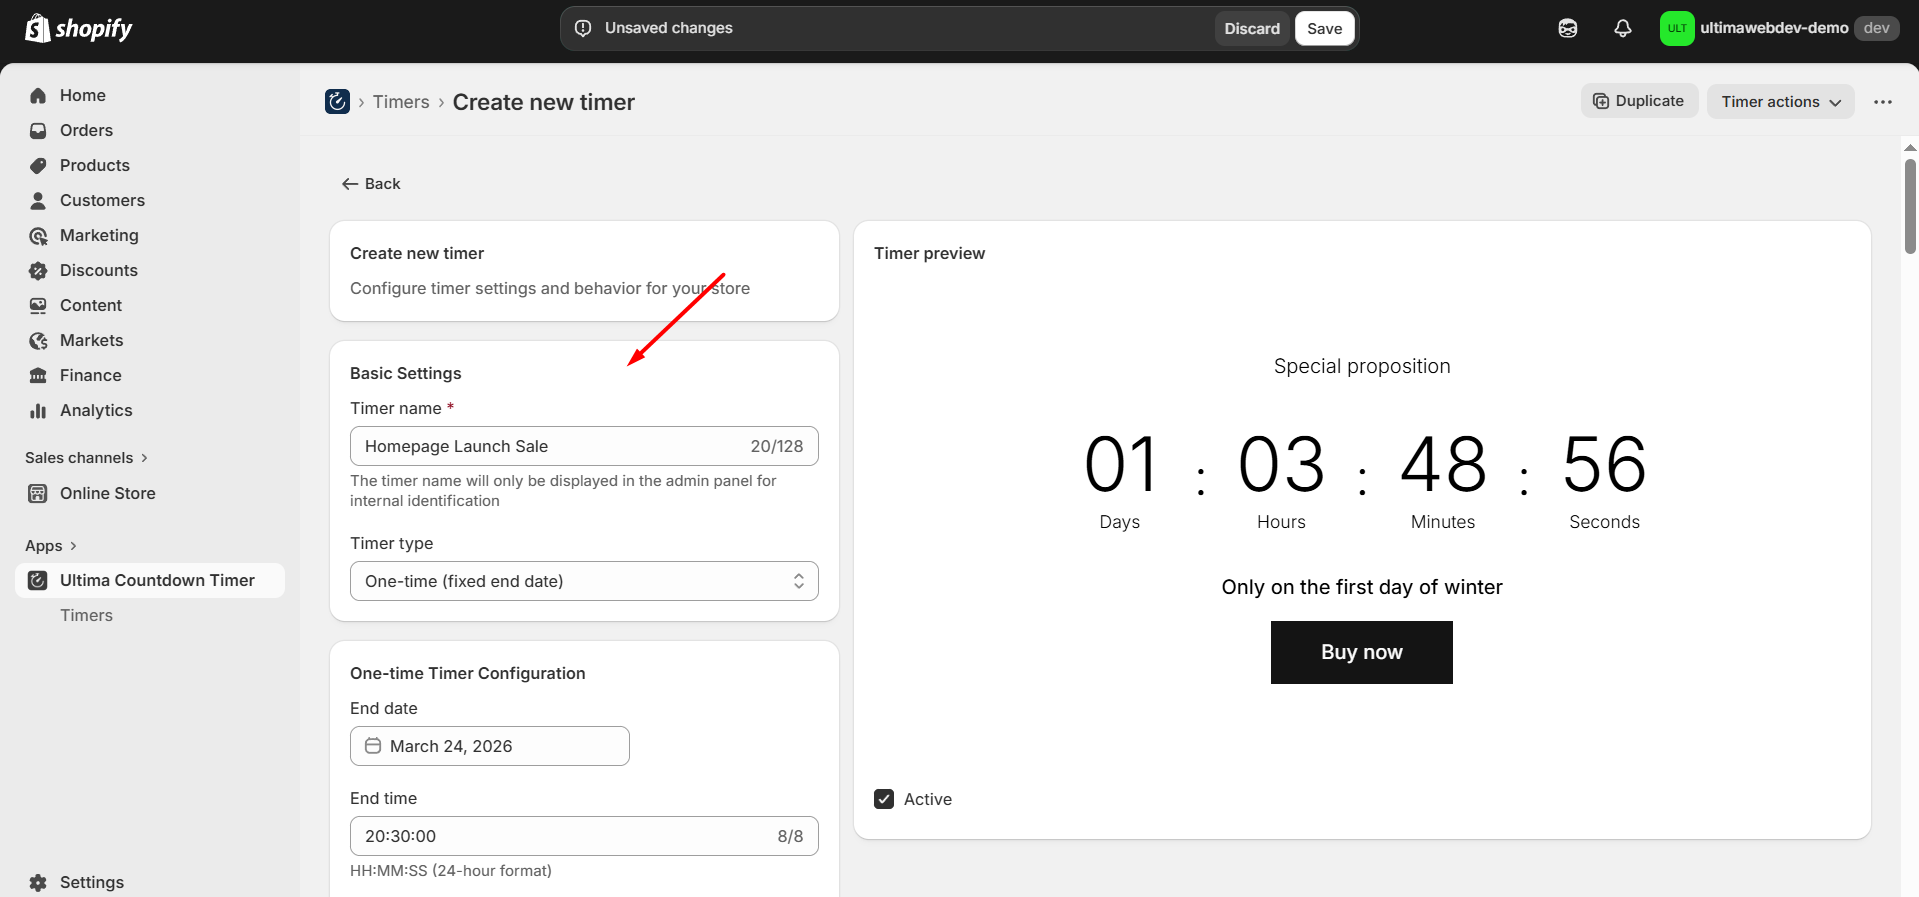
- Set the End Date/Time: In the "One-time Timer Configuration" section:
- Set the End date to a date in the near future.
- Set the End time to your desired expiration time (e.g., `23:59:00`).

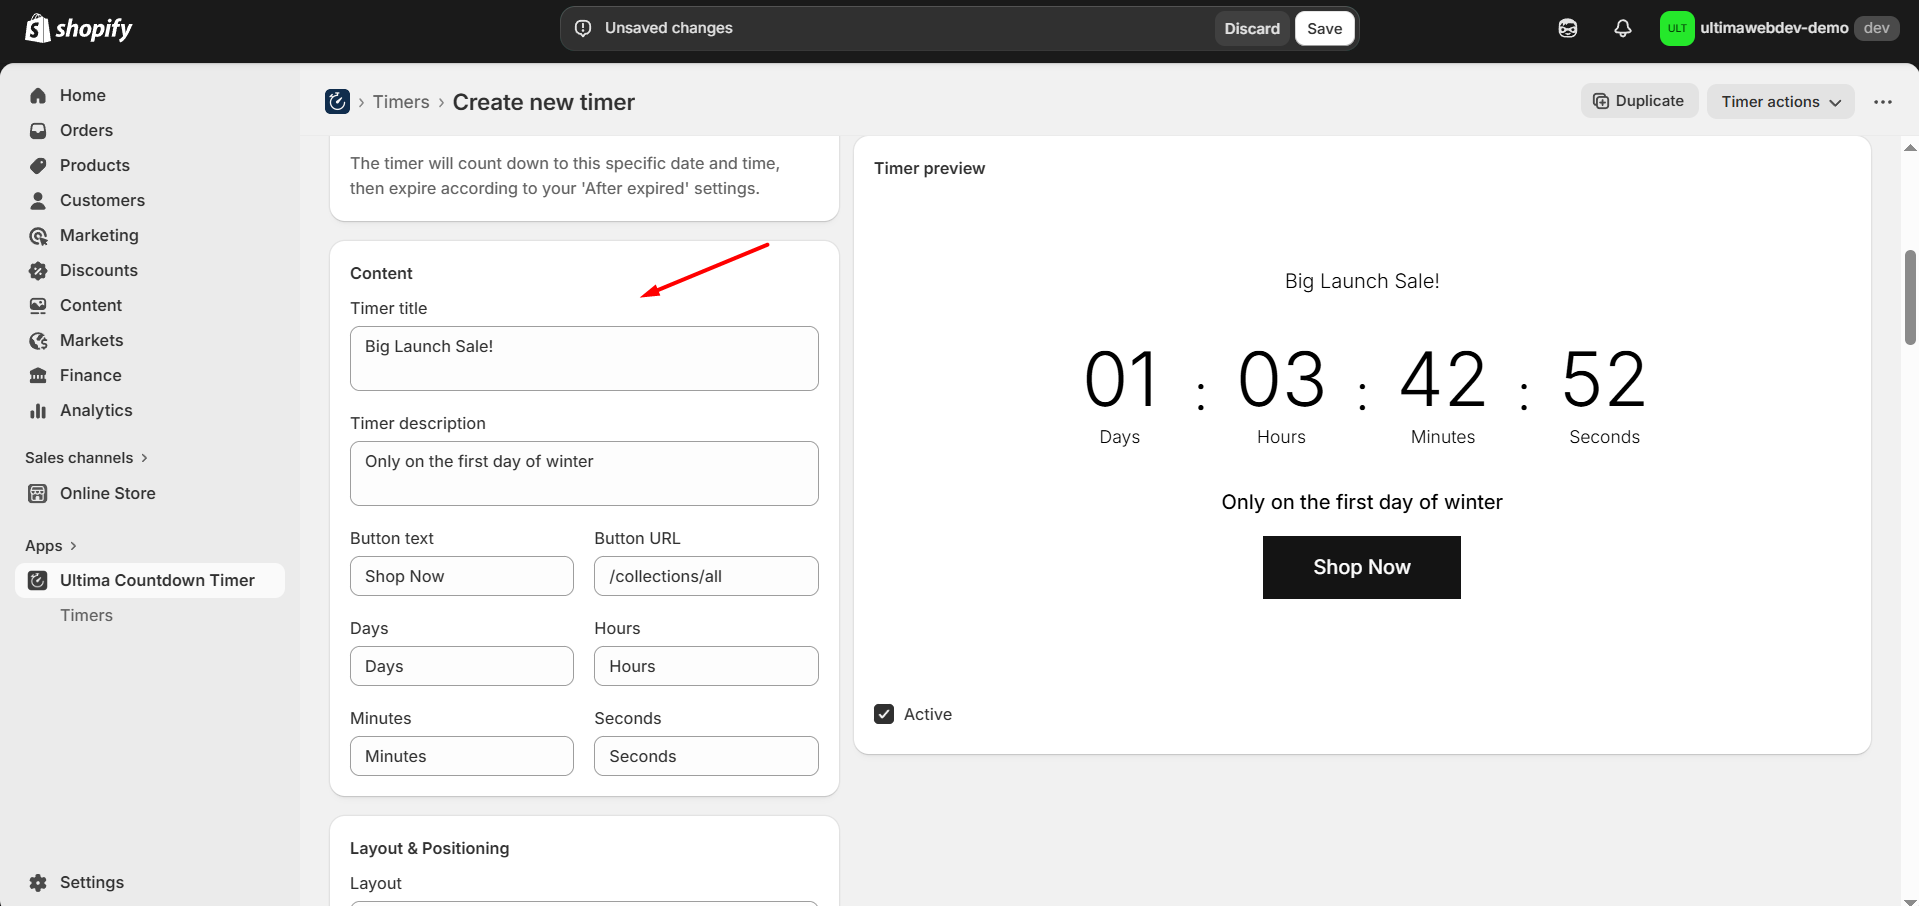
- Add Description: In the "Content" section:
- Timer title: "Big Launch Sale!"
- Button text: "Shop Now"
- Button URL: `/collections/all`
- Choose a preset: In the "Background & Overlay" section.
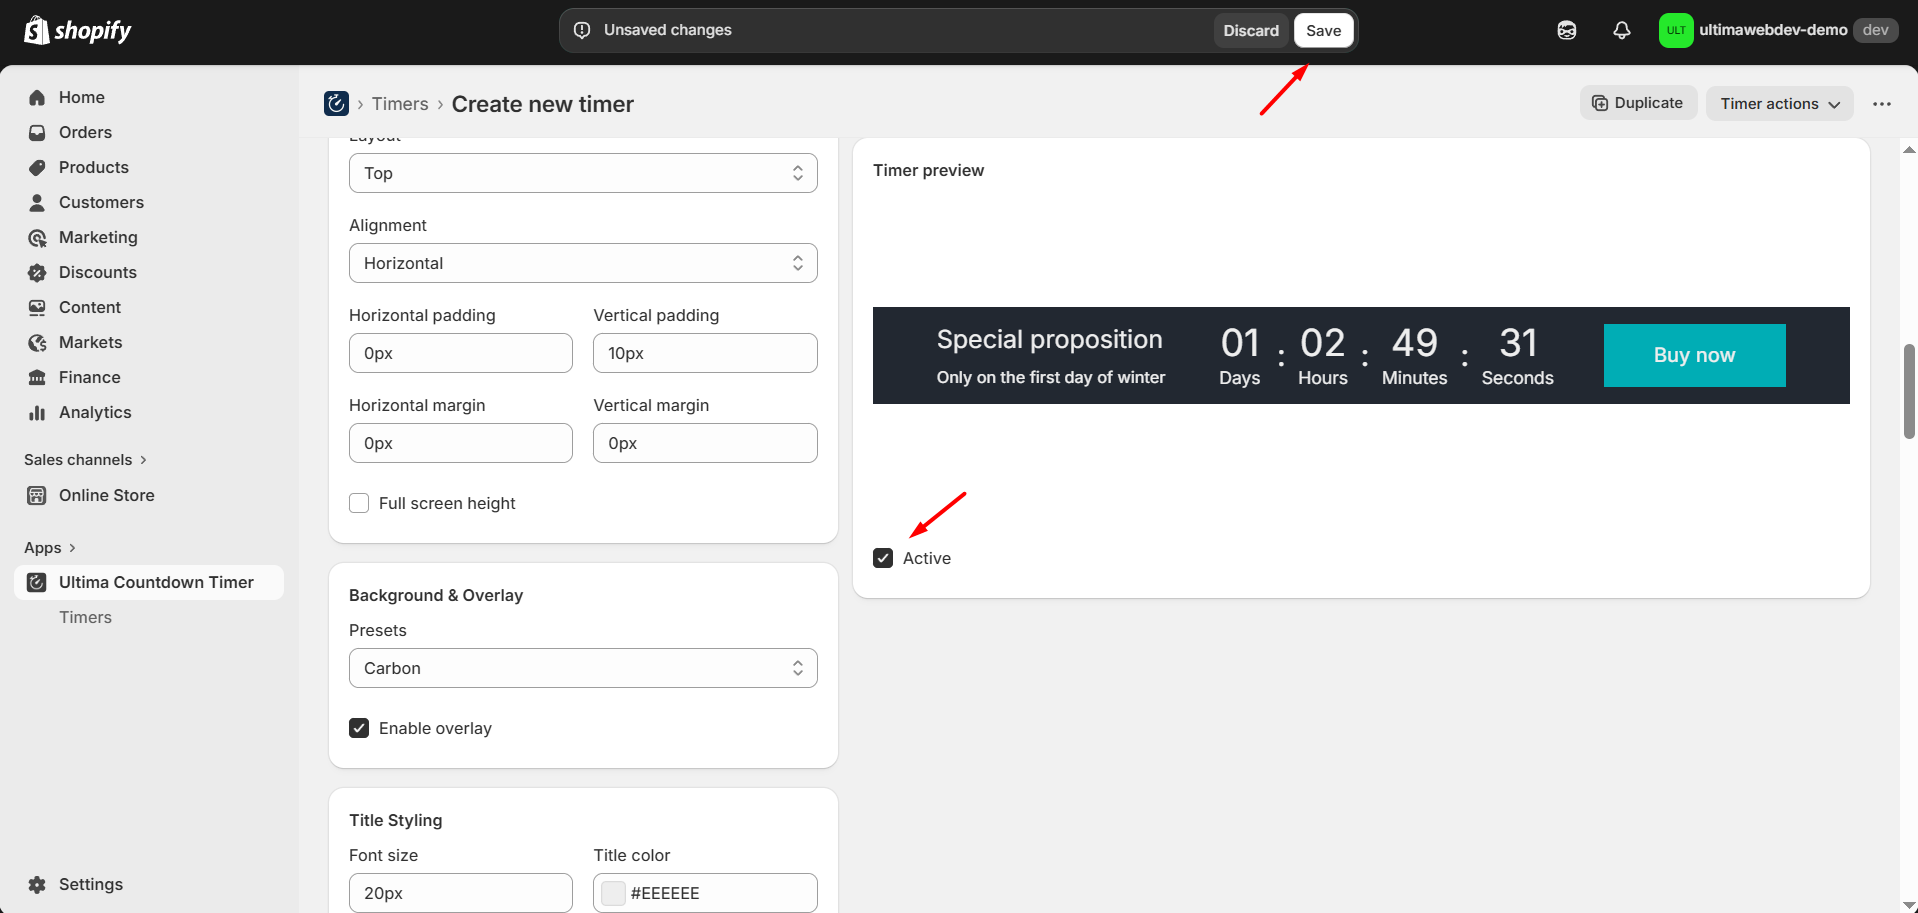
 8. Activate and Save: At the top of the preview panel on the right, ensure the "Active" checkbox is checked. Finally, click the "Save" button at the top of the form.
Your timer is now displayed on the website! Visit your store to see it in action.
Pro Tip
Use the Timer ID found in the "Targeting" section of your timer settings. You can copy this ID and paste it into the "Ultima Countdown Timer" app block in your Shopify theme editor for manual placement.